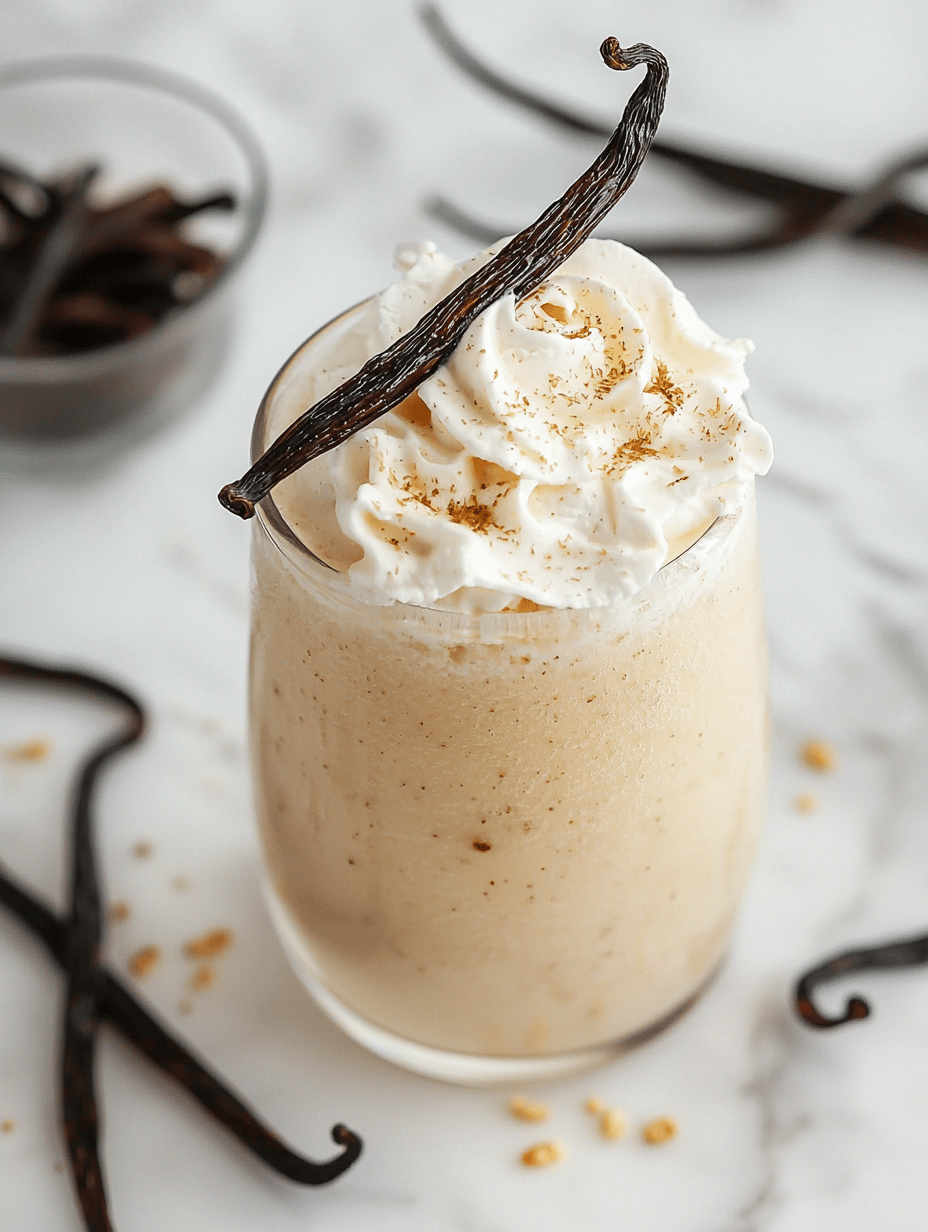
Imagine the scent of vanilla bean filling your kitchen, warm yet inviting, as you prepare to freeze a simple ingredient into a refreshing treat. But this isn’t just any slushie; it’s a vanilla marvel that transforms ordinary summer moments into memories. The secret lies in balancing the rich aroma of […]