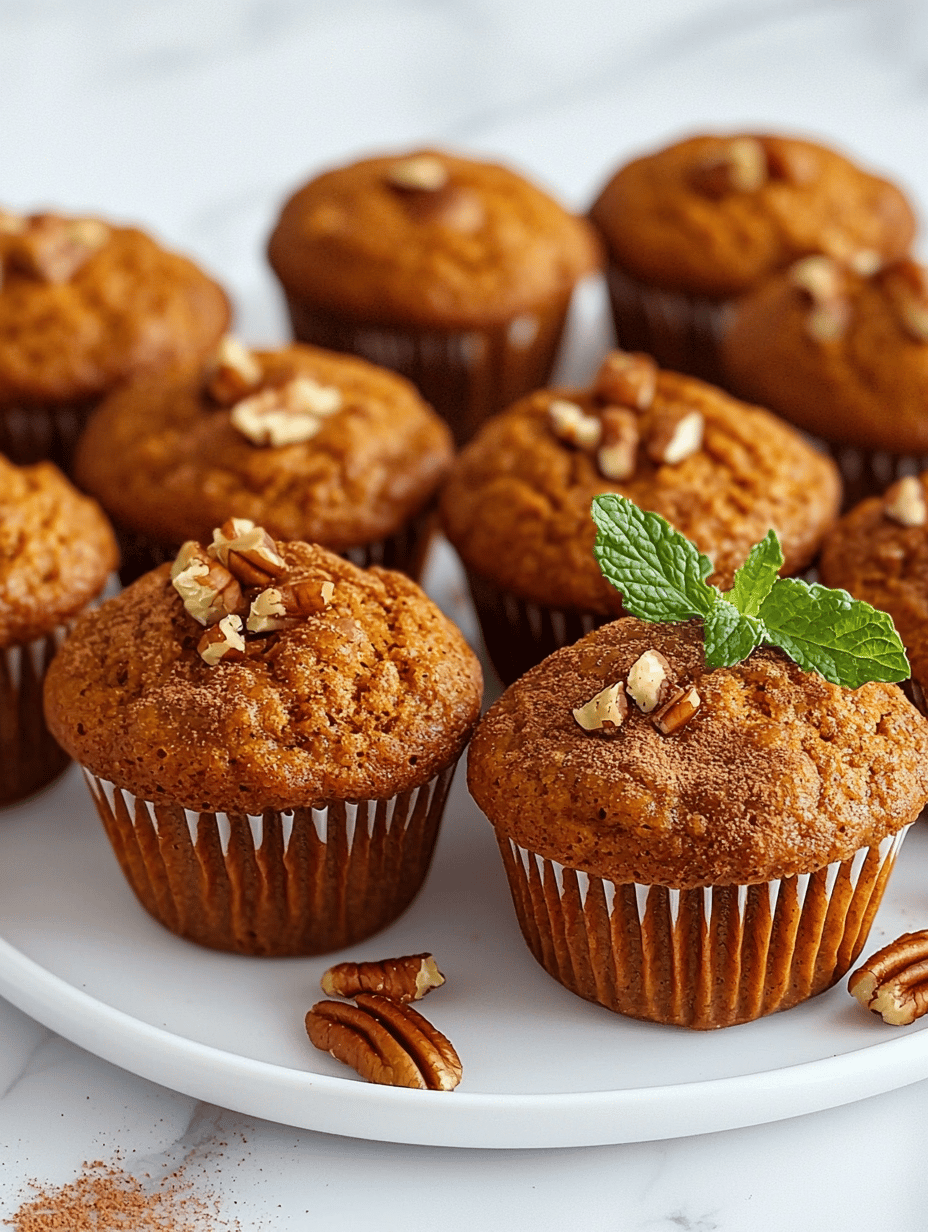
Pumpkin muffins are everywhere this season, but I've discovered a little twist that makes them truly stand out. Instead of the usual cinnamon and nutmeg overload, I add a dash of ground ginger and a whisper of allspice for depth. The aroma alone transforms a simple morning treat into something […]