
I’ve always loved spring rolls, but the idea of frying them always made me hesitate—too greasy, too messy. So I started experimenting with baking them, and honestly, it changed the whole game. These baked spring rolls get that crispy exterior without the oil slick, and they come together faster than you’d think.
Baking them also means I can prep a batch in advance, toss them in the oven, and still get that satisfying crunch. It’s a no-fuss way to enjoy a snack that feels a little more wholesome but still hits all the right notes of crispy, savory, and fresh. Plus, they’re perfect for when I want a quick, satisfying bite without turning on the stove full blast.
This recipe is about rethinking spring rolls as a baked snack instead of fried, making them more approachable and less greasy, perfect for a quick, healthier bite.
Why this recipe matters to me
- I first came up with this baked version during a weekend when I was craving spring rolls but didn’t want to deal with the mess of frying. The oven’s gentle heat gave me that same crispness, but with way less fuss and smell lingering for days. It felt like a small victory to turn a greasy favorite into something lighter and still satisfying.
- Honestly, I was surprised by how well they held their crunch after baking—better than I expected. It’s become my go-to for casual gatherings or quick snacks, especially when I want something crunchy without the oil overload. They remind me that sometimes, a little tweak in technique makes all the difference.
- heading: ‘The story behind this recipe’
Ingredient breakdown: key components
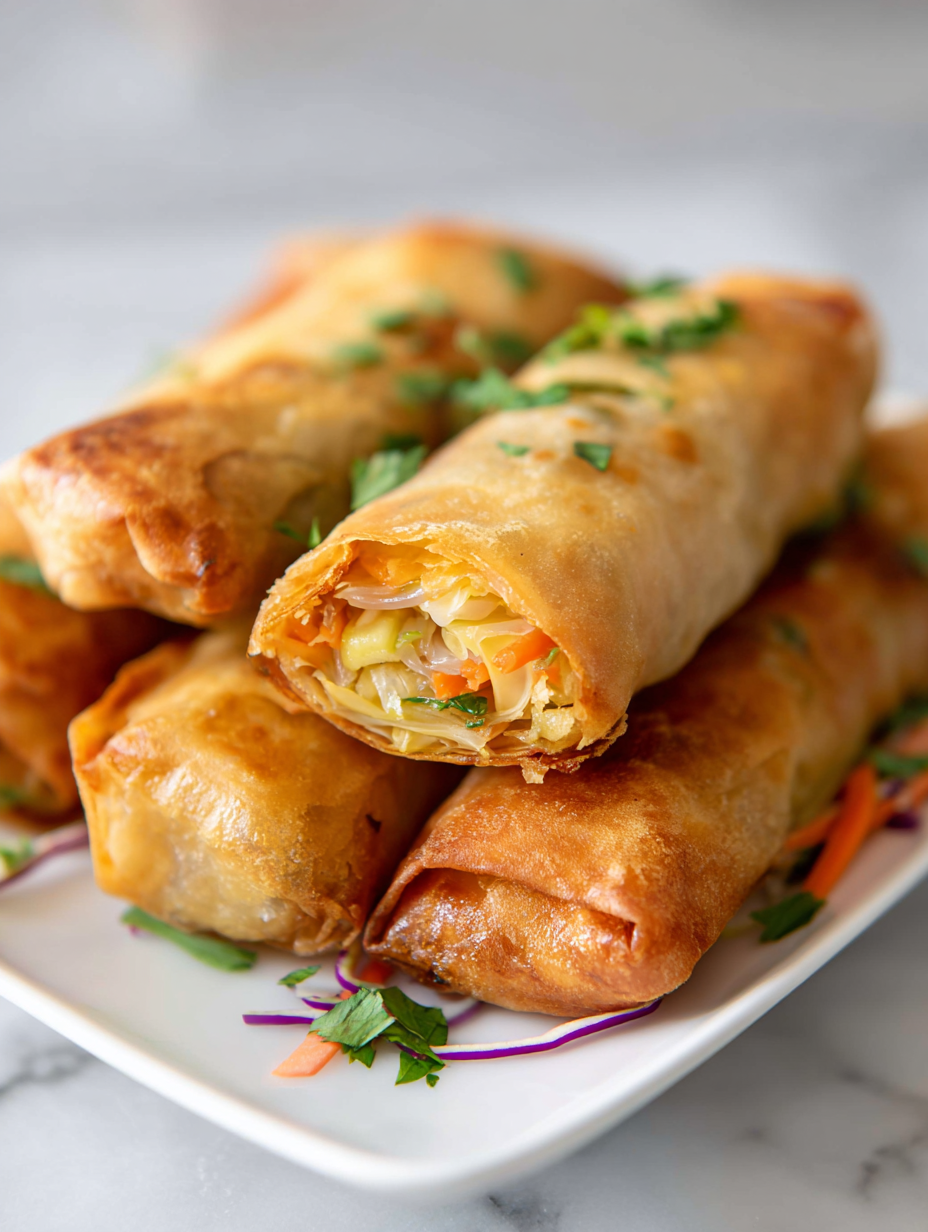
- Carrots: I love the crunch and sweetness they bring—make sure to julienne them thin so they bake evenly and stay crisp, like a little burst of sunshine in every bite.
- Cabbage: Shredded green cabbage adds that satisfying crunch and mild earthiness; chop it fine, and squeeze out excess moisture to prevent sogginess during baking.
- Shrimp or tofu: I prefer shrimp for a richer flavor, but tofu works beautifully—press out the moisture well, then slice thin for quick baking and maximum crispness.
- Spring roll wrappers: I use rice paper or thin wheat wrappers; keep them covered with a damp towel to prevent tearing as you fill and roll, and brush lightly with oil for extra crispness.
- Sweet chili sauce: The perfect dip—bright, slightly spicy, and sticky. Use it sparingly to balance the savory filling without overpowering that crispy shell.
- Sesame oil: Just a splash in the filling adds a smoky depth—don’t overdo it, or it might mask the fresh flavors inside.
- Fresh herbs: Mint or cilantro brighten the whole thing—chop fine and sprinkle just before serving to keep that fresh, lively aroma.
Spotlight on key ingredients
Cabbage and Carrots:
- Carrots: I love the crunch and sweetness they bring—make sure to julienne them thin so they bake evenly and stay crisp, like a little burst of sunshine in every bite.
- Cabbage: Shredded green cabbage adds that satisfying crunch and mild earthiness; chop it fine, and squeeze out excess moisture to prevent sogginess during baking.
Notes for ingredient swaps
- Dairy-Free: Use coconut aminos instead of soy sauce for a sweeter, milder flavor without soy or dairy.
- Vegan Protein: Swap shrimp for tempeh or mushrooms—both hold up well and add earthy richness.
- Gluten-Free: Rice paper wrappers are naturally gluten-free, but wheat wrappers can be replaced with gluten-free alternatives like quinoa flour wraps.
- Sweet Heat: Honey can be replaced with agave syrup or maple syrup for a different kind of sweetness, slightly more earthy and robust.
- Extra Crunch: Instead of oil brushing, spray rolls lightly with cooking spray for a crisp exterior without the added oil.
- Herb Boost: Swap cilantro for basil or parsley—each brings a fresh, vibrant note that brightens the filling.
- Spice Kick: Add a dash of Sriracha or hot sauce to the filling for an extra layer of heat and depth.
Equipment & Tools
- Baking sheet: To hold the spring rolls during baking.
- Parchment paper: To prevent sticking and make cleanup easier.
- Small bowls: For mixing fillings and sauces.
- Brush: To lightly oil the rolls for extra crispness.
- Damp towel: To keep wrappers moist and prevent tearing.
Step-by-step guide to baked spring rolls
- Gather all your equipment: baking sheet, parchment paper, small bowls, and a brush. Preheat oven to 200°C (390°F).
- Prepare the filling: in a bowl, combine shredded cabbage, julienned carrots, chopped herbs, and cooked shrimp or tofu. Mix well and season with soy sauce, a splash of sesame oil, and pepper. Set aside.
- Lay out your spring roll wrappers on a clean surface. Keep a damp towel over them to prevent drying out.
- Spoon about 2 tablespoons of filling onto the lower third of each wrapper. Fold the sides in, then roll tightly from bottom to top, sealing the edge with a dab of water or beaten egg.
- Place the assembled rolls seam-side down on a parchment-lined baking sheet. Lightly brush the tops with oil for extra crispness.
- Bake in the oven for 15-20 minutes. After 10 minutes, turn the rolls to ensure even browning. They should turn golden and crispy around edges.
- Check for doneness: the shells should be crisp and golden, filling hot and slightly bubbling at the edges. If not, bake for a few more minutes.
- Remove from oven and let rest for 2 minutes. Serve hot with a small bowl of sweet chili sauce or your preferred dip.
Let the baked spring rolls rest for 2 minutes on a wire rack before serving. Plate with a side of chili sauce or your favorite dip, and enjoy while crispy and warm.
How to Know It’s Done
- The shells are golden and crispy, not pale or soggy.
- Filling is hot and slightly bubbling, indicating thorough baking.
- The rolls hold their shape without cracking or splitting.
Baked Spring Rolls
Ingredients
Equipment
Method
- Preheat your oven to 200°C (390°F) and line a baking sheet with parchment paper. Gather your small bowls and keep a damp towel nearby to keep wrappers moist.
- In a bowl, combine the shredded cabbage and julienned carrots. Squeeze out any excess moisture to keep the filling crisp after baking.
- Add the chopped herbs, sliced shrimp or tofu, soy sauce, sesame oil, and pepper to the vegetables. Mix everything well, ensuring the filling is flavorful and evenly coated.
- Lay out a spring roll wrapper on a clean surface. Keep a damp towel over the remaining wrappers to prevent drying out.
- Spoon about 2 tablespoons of filling onto the lower third of the wrapper. Fold in the sides, then roll tightly from bottom to top, sealing the edge with a dab of water or beaten egg if needed.
- Place the assembled rolls seam-side down on the prepared baking sheet. Lightly brush or spray the tops with oil for extra crispness.
- Bake in the preheated oven for 15-20 minutes, turning the rolls halfway through to ensure even browning. Look for a golden, crispy exterior.
- Once baked to a beautiful golden hue and crispy shell, remove the rolls from the oven and let them rest for 2 minutes. This helps set the shell and makes them easier to handle.
- Serve the hot, crispy spring rolls with a side of sweet chili sauce or your favorite dip for an irresistible snack or appetizer.
Pro tips for perfect baked spring rolls
- Thin is In: Use a sharp knife to julienne vegetables finely—uniform strips bake evenly and stay crisp.
- Oil Lightly: Brush the rolls with a thin layer of oil before baking—this helps achieve that golden, crispy shell.
- Seal Tightly: Use a dab of water or beaten egg to seal edges—prevents filling from escaping and keeps shape.
- Bake, Don’t Fry: Keep an eye on the oven, 15-20 minutes at 200°C (390°F)—they should be golden and crunchy, not burnt.
- Rest Briefly: Let rolls sit for 2 minutes after baking—this helps set the shell and prevents breakage when serving.
- Flip for Evenness: Turn the rolls halfway through baking—ensures uniform crispness and color across all sides.
- Avoid Overstuffing: Use about 2 tablespoons of filling—overstuffed rolls can crack and spill during baking.
Common mistakes and how to fix them
- FORGOT to preheat oven → Always preheat to 200°C (390°F) before baking.
- DUMPED filling directly onto wrappers → Place filling carefully, avoiding overstuffing.
- OVER-TORCHED rolls → Bake until golden, not dark brown or burnt.
- SEALING edges poorly → Use a little water or beaten egg to seal tightly.
Quick fixes and pantry swaps
- When rolls crack open, splash a little water along the seam to re-seal quickly.
- If shells stick, dampen a towel and cover for 5 minutes to soften before rolling again.
- When filling is too dry, open a bit of chili sauce for moisture and flavor boost.
- Dumped filling too wet? Pat it dry with paper towels before wrapping for better seal.
- When rolls turn pale, bump up oven temperature by 10°C (20°F) and bake a few more minutes for crispness.
Prep, store, and reheat tips
- Prepare the filling in advance: chop vegetables and assemble the mixture the night before for easy assembly the next day, keeping it refrigerated to maintain freshness.
- Assembled rolls can be stored in the fridge for up to 24 hours; cover them tightly with plastic wrap to prevent drying out and maintain crispness.
- For longer storage, freeze baked rolls on a baking sheet until solid, then transfer to an airtight container; they keep well for up to one month.
- Reheat in a 180°C (350°F) oven for about 10 minutes until warmed through and crisp again, watching for that perfect golden sheen and slight crackle when ready.
Top questions about baked spring rolls
1. How do I prevent the rolls from sticking or tearing?
Use thin wrappers and brush lightly with oil to get that crispy shell without frying. Keep an eye on the oven to prevent burning.
2. Can I prepare these ahead of time?
Chill the filled rolls for 10 minutes before baking; this helps them hold shape better and prevents bursting.
3. How do I know when they are perfectly baked?
Bake at 200°C (390°F) for 15-20 minutes, flipping halfway. Look for a golden, crispy exterior and hot filling.
4. What vegetables work best for this recipe?
Use firm vegetables like carrots and cabbage, and squeeze out excess moisture to avoid sogginess.
5. Can I make these vegetarian or vegan?
Yes, you can swap shrimp for tofu, mushrooms, or even cooked chicken—just adjust cooking time accordingly.
6. What’s the best way to get extra crunch without frying?
Brush with a little oil or spray before baking to enhance crispiness. Use parchment paper to prevent sticking.
7. How should I store and reheat baked spring rolls?
Store leftovers in an airtight container in the fridge for up to 24 hours; reheat in a hot oven until crispy.
8. How much filling should I use per roll?
Overstuffed rolls can crack during baking. Use about 2 tablespoons of filling per roll for best results.
9. How do I flavor the filling properly?
Mix soy sauce, sesame oil, and fresh herbs for a flavorful filling. Adjust seasoning to your taste before filling the wrappers.
10. What if my spring rolls aren’t crispy enough?
If the shells are too pale, increase oven temperature slightly or bake a few extra minutes for added crispness.
Baked spring rolls might not have the same instant allure as their fried counterparts, but they deliver a satisfying crunch with way less guilt. I find myself reaching for these often when I want something quick, crispy, and fresh, especially on busy weeknights. The smell of toasted wrappers and roasted vegetables fills my kitchen, bringing a little comfort every time.
In the end, it’s about finding that balance—crisp, bright, and straightforward. These rolls remind me that sometimes a simple tweak can make a familiar dish feel new and exciting, without all the fuss of traditional frying. They’re perfect for those moments when I want a snack that’s both satisfying and a little healthier.
At Salt Strategist, we believe food is more than just nourishment; it’s a story, a memory, and an experience meant to be shared. Our blog is dedicated to exploring the art of cooking with a focus on everyday meals, kitchen tips, and inspiring recipes that bring people closer together around the table.
Our Story
Salt Strategist was founded by Emily Carter, a passionate home cook and culinary storyteller from Portland, Oregon. Growing up in a family that valued Sunday dinners and homemade meals, Emily discovered early on that food has the power to connect hearts and cultures.
Her vision for Salt Strategist is simple: to make cooking approachable, exciting, and rewarding for everyone. Whether you are a seasoned chef or just starting your cooking journey, this blog is here to inspire confidence in the kitchen with easy-to-follow recipes, clever cooking strategies, and flavour-packed ideas.